On This Page
Create a Shared Secret Key Pair

This section describes how to create a shared secret key pair and test that it works. A
shared secret key pair consists of a
key ID
and a shared secret key
, which
you must have in order to construct JWT messages and enable MLE.Step 2A: Create a Shared Secret Key Pair
- On the left navigation panel, choose
 Payment Configuration > Key Management.
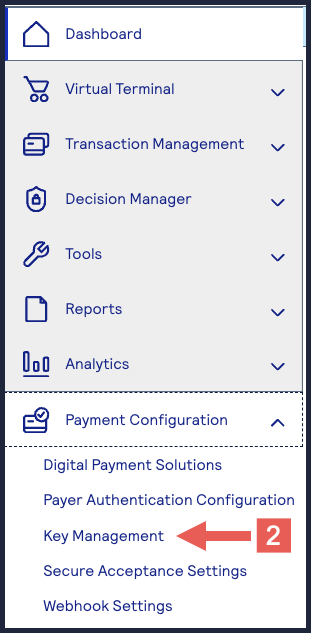
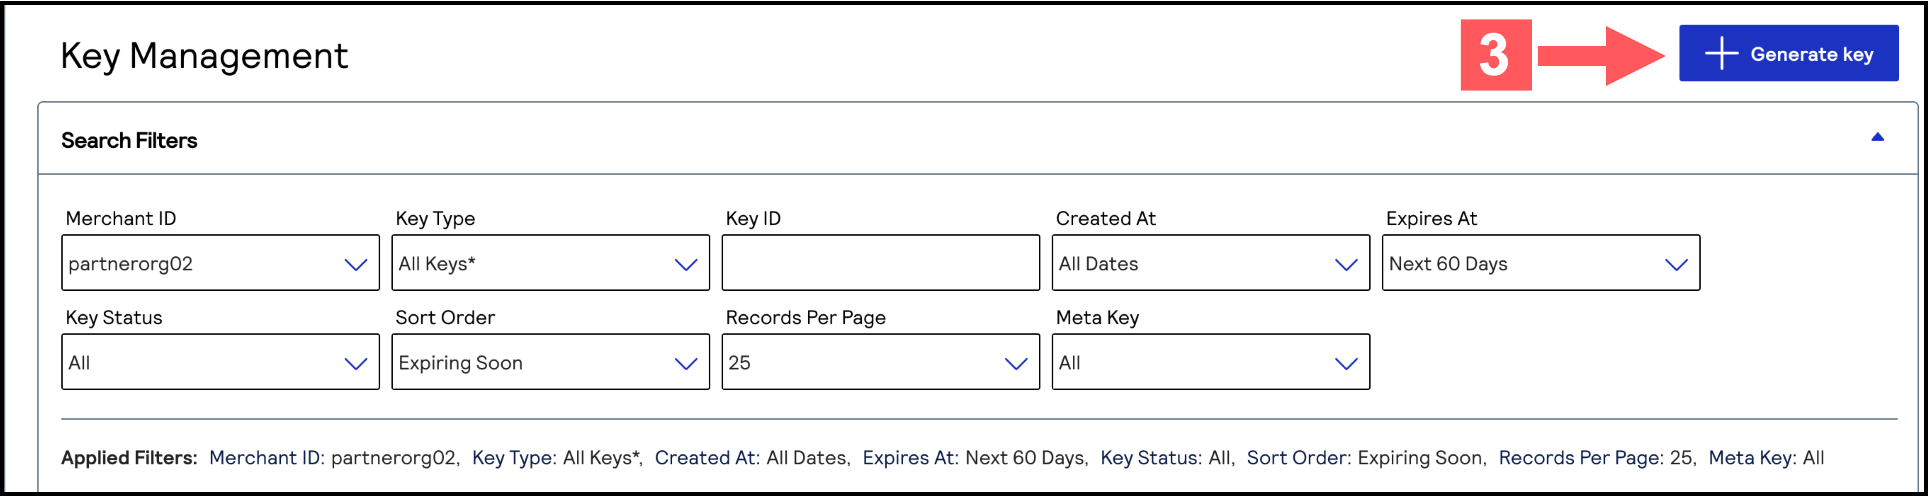
- Click+ Generate keyon the Key Management page.
- Under REST APIs, chooseREST – Shared Secretand then clickGenerate key.
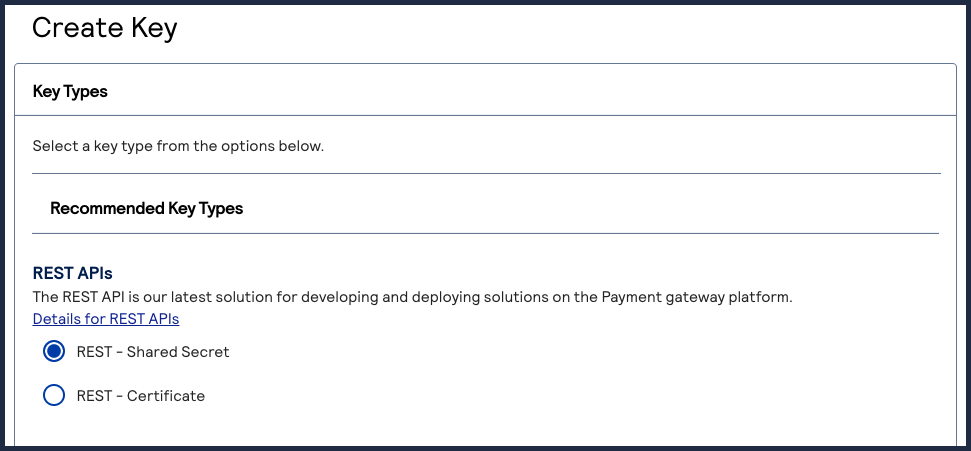
 The REST API Shared Secret Key page appears.
 - ClickDownload key
 .The.pemfile downloads to your desktop.
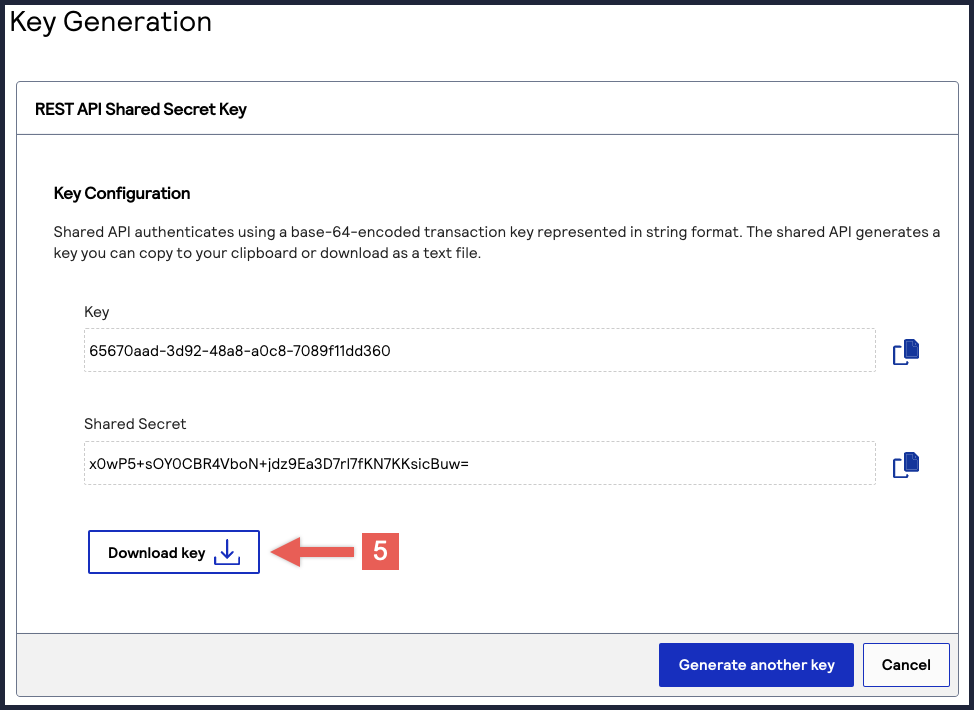 TheKeyvalue is yourkey IDand theShared Secretvalue is yourshared secret key.IMPORTANTSecurely store the key credentials and.pemfile in your system. These credentials are required in order to implement certain products, and you must be able to access them.
- What to do next
- To test your shared secret key pair, see Step 2B: Test Your Shared Secret Key Pair.
Step 2B: Test Your Shared Secret Key Pair
After creating your shared secret key pair, you must verify that your key pair can
successfully process API requests. Follow these steps to validate your key pair in
the Developer Center and the
Gateway Portal
.- Go to the Developer Center's API Reference page:
- On the left navigation panel, click .
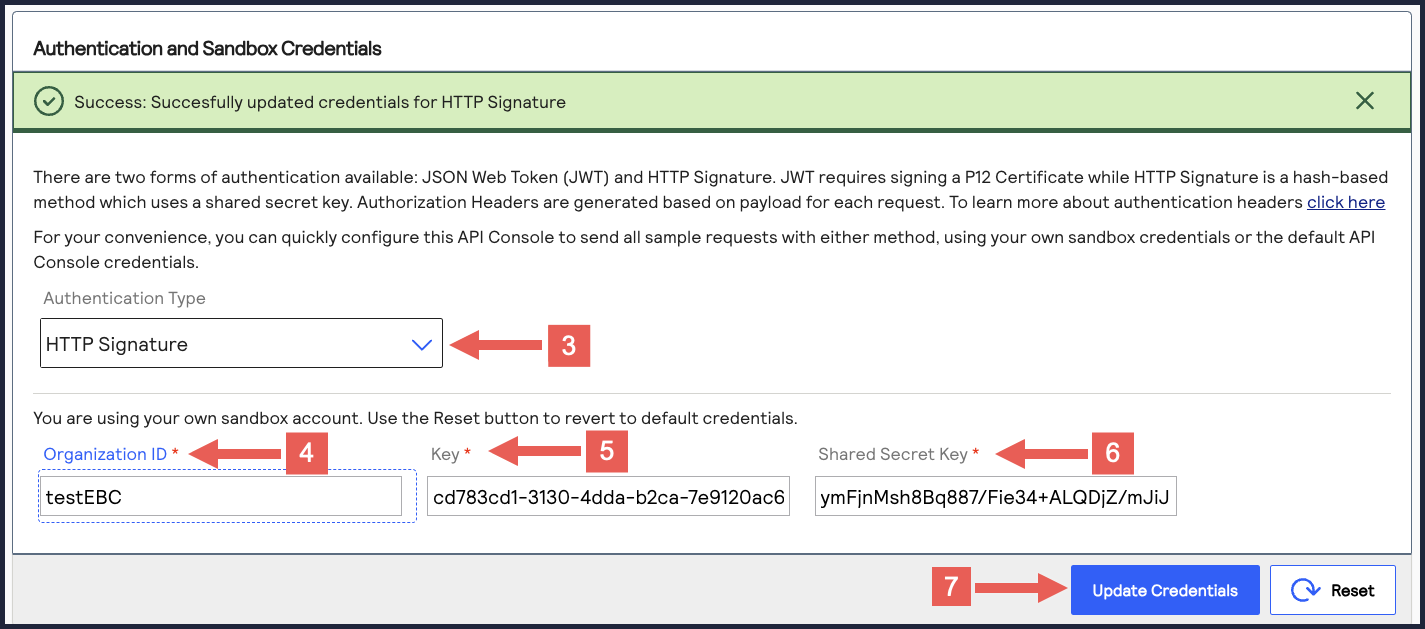
- Under Authentication and Sandbox Credentials, go to the Authentication Type drop-down menu and chooseHTTP Signature.
- Enter your organization ID in theOrganization IDfield.
- Enter your key ID in theKeyfield.
- Enter your shared secret key in theShared Secret Keyfield.
- ClickUpdate Credentials.A confirmation message displays stating that your credentials are successfully updated.
- Go to the Developer Center's API Reference and navigate toPayments >.POSTProcess a Payment
- ClickSend.
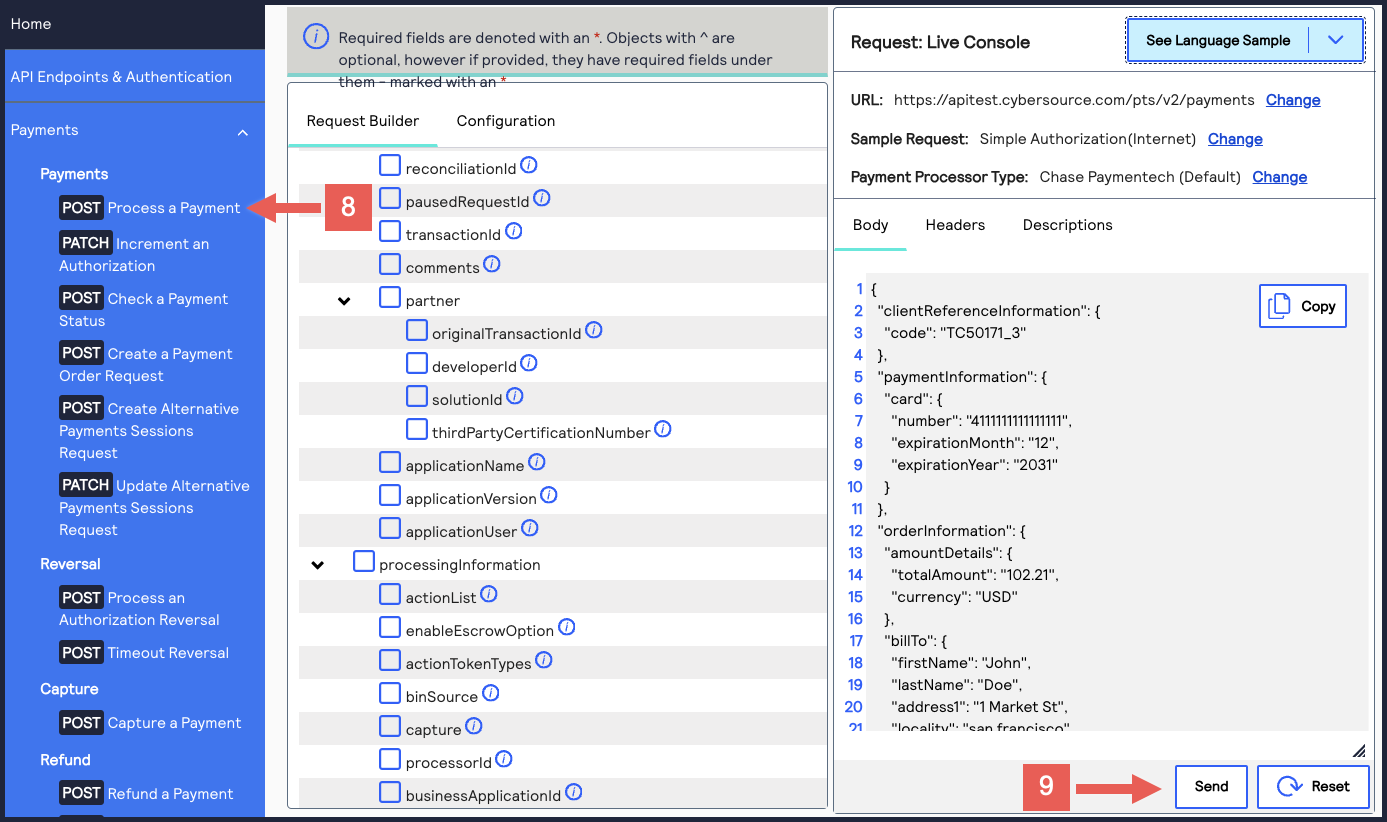 A message confirms that your request was successful with the status code 201.
- Log in to theGateway Portal:
- On the left navigation panel, choose
 Transaction Management > Transactions.
 - Under Search Results, verify that the request ID from the test authorization response is listed in the Request ID column.If the test authorization was successful, a success message is present in the corresponding Applications column.
